
Elevate Your Kitchen with a DIY Backsplash: A Guide by Callaghan Handyman Service
- callaghanyyc
- Apr 1, 2024
- 2 min read


Introduction: Your kitchen is the heart of your home, where culinary creations come to life and memories are made around the dinner table. Adding a backsplash to your kitchen can instantly elevate its aesthetic appeal while also protecting your walls from spills and splatters. But fear not, you don't need to break the bank to achieve a stylish backsplash. With a little creativity and elbow grease, you can create a stunning DIY backsplash that reflects your personal style. In this guide, Callaghan Handyman Service will walk you through the process of transforming your kitchen with a budget-friendly DIY backsplash.
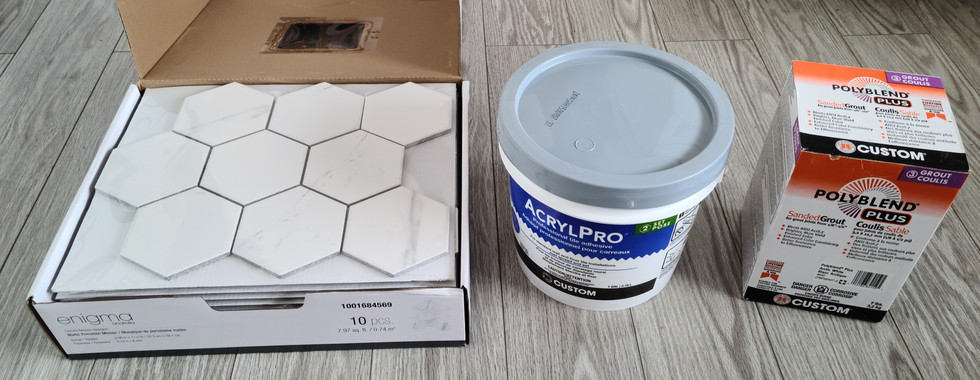
Choosing the Right Materials: Before diving into the DIY project, it's essential to choose the right materials for your backsplash. Fortunately, there are plenty of options available that won't break the bank. Some popular choices include:
Peel-and-stick tiles: These are a cost-effective and easy-to-install option that comes in a variety of styles and colors.
Ceramic or porcelain tiles: Available in various sizes and designs, ceramic and porcelain tiles are durable and relatively inexpensive.
Glass mosaic tiles: These tiles add a touch of elegance to any kitchen and are available in a range of colors and patterns.
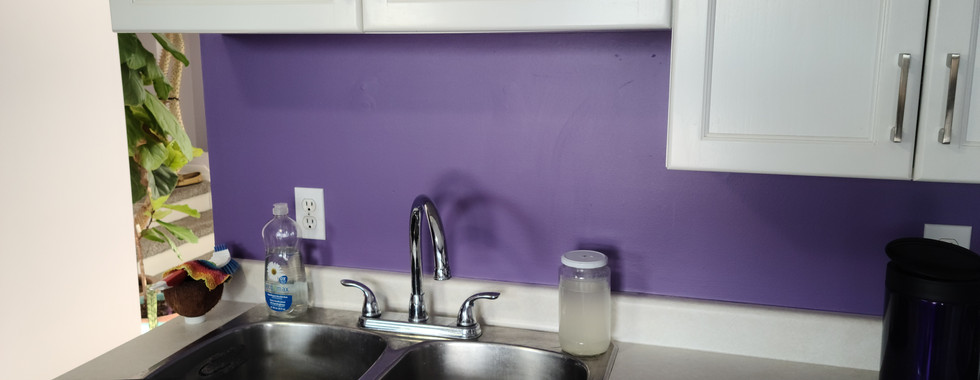
Preparing the Surface: Once you've selected your materials, it's time to prepare the surface for installation. Start by thoroughly cleaning the wall where the backsplash will be installed to remove any dirt, grease, or debris. If you're working with a painted wall, lightly sand it to create a rough surface for better adhesion.
Measuring and Cutting: Measure the area of your backsplash and calculate the number of tiles needed. If you're using peel-and-stick tiles, you can easily cut them to size using a utility knife or scissors. For ceramic or glass tiles, you may need a tile cutter to achieve precise cuts.
Installing the Backsplash: Now comes the fun part – installing the backsplash. If you're using peel-and-stick tiles, simply peel off the backing and press them firmly onto the wall, starting from the bottom and working your way up. Make sure to use a level to ensure your tiles are straight.
If you're using ceramic or glass tiles, you'll need to apply adhesive to the wall using a notched trowel, then press the tiles into place, leaving a small gap between each tile for grout. Once the adhesive has dried, fill the gaps with grout using a grout float, then wipe away any excess grout with a damp sponge.
Finishing Touches: Once the grout has dried, use a grout sealer to protect your backsplash from stains and moisture. This will help prolong the life of your DIY backsplash and keep it looking fresh for years to come.
Conclusion: Adding a backsplash to your kitchen doesn't have to be a costly or time-consuming endeavor. With the right materials and a little DIY know-how, you can create a stunning backsplash that enhances the beauty and functionality of your space. Whether you opt for peel-and-stick tiles or traditional ceramic tiles, the experts at Callaghan Handyman Service are here to help you every step of the way. So roll up your sleeves and get ready to transform your kitchen with a budget-friendly DIY backsplash!